
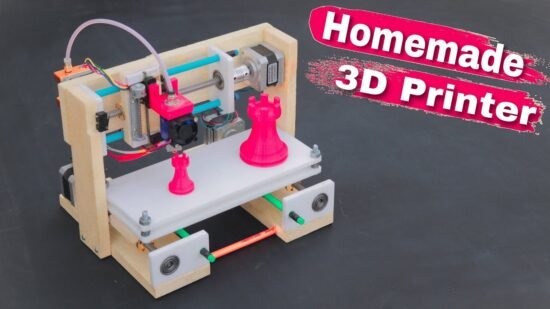
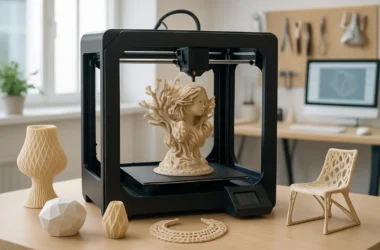
Picture this: a world where you can create almost anything you can imagine at home, from spare parts for your gadgets to unique toys for your kids, all with the push of a button. Welcome to the world of DIY 3D printing, where your home becomes a fabrication lab and your imagination is the only limit.
The Allure of DIY 3D Printing
Building your own 3D printer might sound like a daunting task, especially for those of us whose technological expertise stops at changing the batteries in the remote. However, the maker community has made it more accessible than ever. With a plethora of open-source 3D printing projects and affordable 3D printer kits available, even a beginner can get started on this exciting journey. Plus, think of the bragging rights! You’ll have a custom 3D printer sitting in your living room.
Now, let’s address the elephant in the room. Why would one choose to build their own 3D printer instead of buying a pre-assembled one? Well, for starters, it’s like comparing instant noodles to a gourmet meal. Sure, both will fill you up, but one offers a far richer experience. Building a 3D printer from scratch gives you a deeper understanding of how it works, ensuring that when something goes wrong (and it will), you’ll have the know-how to fix it. Plus, the satisfaction of creating something with your own two hands is hard to beat.
Breaking Down the Basics: Components and Kits

Before diving headfirst into the world of home fabrication, it’s important to get acquainted with the basic components of a 3D printer. Here’s a brief rundown of what you’ll need:
- Frame: The skeleton of your 3D printer, usually made from aluminum or steel for stability.
- Motors: Typically stepper motors, these are responsible for the movement of your printer.
- Extruder: The part that feeds the filament into the hot end.
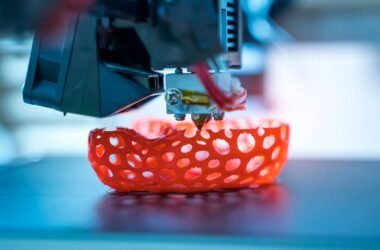
- Hot End: Where the magic happens—this is where the filament melts to form your 3D object.
- Print Bed: The surface on which your creations are printed. Heated beds are recommended for better adhesion.
- Controller Board: The brain of your operation, controlling the motors and temperature of the hot end.
For those looking to ease into the process, 3D printing kits are a fantastic option. These kits come with all the components you need, along with instructions to guide you through the assembly process. It’s like IKEA, but for tech enthusiasts. Just remember, unlike that new bookshelf, you might not be able to call a friend to help you troubleshoot your 3D printer!
Getting into the Nitty-Gritty: Assembling Your 3D Printer
Assembling a DIY 3D printer is a meticulous process, akin to piecing together a complex puzzle. Start by setting up the frame, ensuring it’s level and stable. This is crucial as any misalignment can affect the precision of your prints. Next, install the motors and belts, which will facilitate the movement of the printer head across three axes: X, Y, and Z. Think of these as the GPS coordinates for your creations.
The extruder and hot end follow, and it’s essential to calibrate them properly. This is where many DIY enthusiasts stumble, but fear not! The maker community is a robust network, always ready to lend a hand with tutorials and tips. Remember, patience is key. If you find yourself getting frustrated, take a break. Grab a coffee or, better yet, a donut. You deserve it.
Tuning and Calibration
Once the assembly is complete, the next step is tuning and calibration. This is where you ensure that all parts are working harmoniously. Start with leveling the print bed. A common trick is using a piece of paper to gauge the distance between the nozzle and the bed, adjusting until there’s just the right amount of resistance when sliding the paper.
Next, check the tension of the belts and adjust the motor currents. This ensures smooth and accurate movements. Calibration can be tedious, requiring multiple test prints to perfect, but getting it right is crucial for the quality of your projects. Think of it as the equivalent of seasoning a dish; a little tweak here and there makes all the difference.
Theoretical Insights: How 3D Printing Works

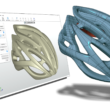
Understanding how 3D printing works can elevate your DIY experience. At its core, 3D printing is an additive manufacturing process. Unlike traditional methods that remove material to create shapes (subtractive manufacturing), 3D printing adds material layer by layer.
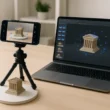
The process starts with a digital 3D model, typically created using CAD (Computer-Aided Design) software. This model is then sliced into thin horizontal layers. The 3D printer reads these slices and deposits material, usually thermoplastic filament, layer by layer to build the object from the ground up. The precision of this process allows for intricate designs that would be impossible with traditional manufacturing.
Joining the Maker Community
Once you’ve built your 3D printer, you’re not just an owner; you’re part of a global maker community. This community thrives on sharing knowledge and creativity, offering endless resources for personal 3D printing projects. You’ll find forums, social media groups, and even local meet-ups where you can exchange ideas, troubleshoot problems, and showcase your creations.
Whether you’re interested in hobbyist 3D printing or pursuing creative printing solutions for your business, the maker community is a valuable resource. Plus, it’s always nice to have a group of like-minded individuals who understand the thrill of watching your first print come to life.
Beyond the Basics: Customizing and Innovating
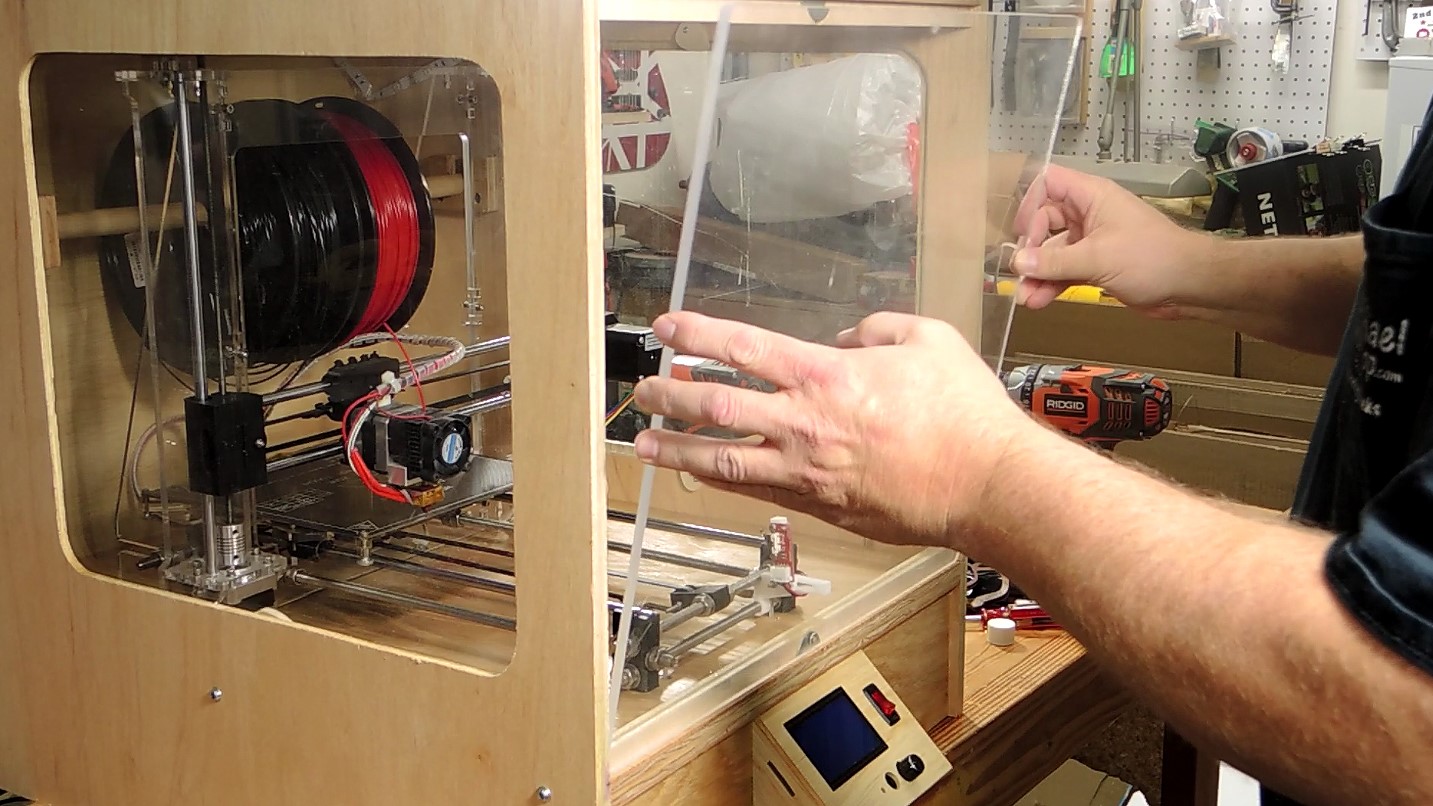
With your self-built 3D printer up and running, the possibilities are endless. You can customize your 3D printer to better suit your needs, from upgrading components like the hot end for more exotic materials to adding enclosures for better temperature control. Not to mention the variety of filaments available, from the standard PLA and ABS to more exotic materials like wood-filled or metal-filled filaments, each offering different properties and finishes.
Moreover, the flexibility of open-source 3D printing means you can tweak and improve your printer’s software. Explore different slicing settings, experiment with print speeds, and try your hand at designing your own models. The more you experiment, the more you learn, and the more creative your solutions become.
So, are you ready to roll up your sleeves and dive into the world of DIY 3D printing? With a bit of patience, some tinkering, and a whole lot of curiosity, you’ll transform your home into an innovation hub. And who knows, perhaps your next project will be the envy of the maker community!
This work feels like a quiet meditation — the kind that invites the reader to slow down and reflect on the deeper meaning behind the words.