


Ah, the world of 3D modeling! It can feel a bit like learning a new language, but once you get the hang of it, it’s like discovering the Rosetta Stone—you just unlock a universe of possibilities. Whether you’re an artist looking to bring your characters to life, an engineer prototyping a new gadget, or just someone curious about what the fuss is all about, 3D modeling is an exciting journey. Let’s dive in!
The Basics of 3D Modeling
First off, let’s talk about what 3D modeling is. Essentially, it’s the process of creating a mathematical representation of a three-dimensional object or shape. This is done using specialized software that allows you to manipulate vertices, edges, and polygons to craft your digital masterpiece. Sounds fancy, right? Well, it kind of is!
Choosing the Right Software
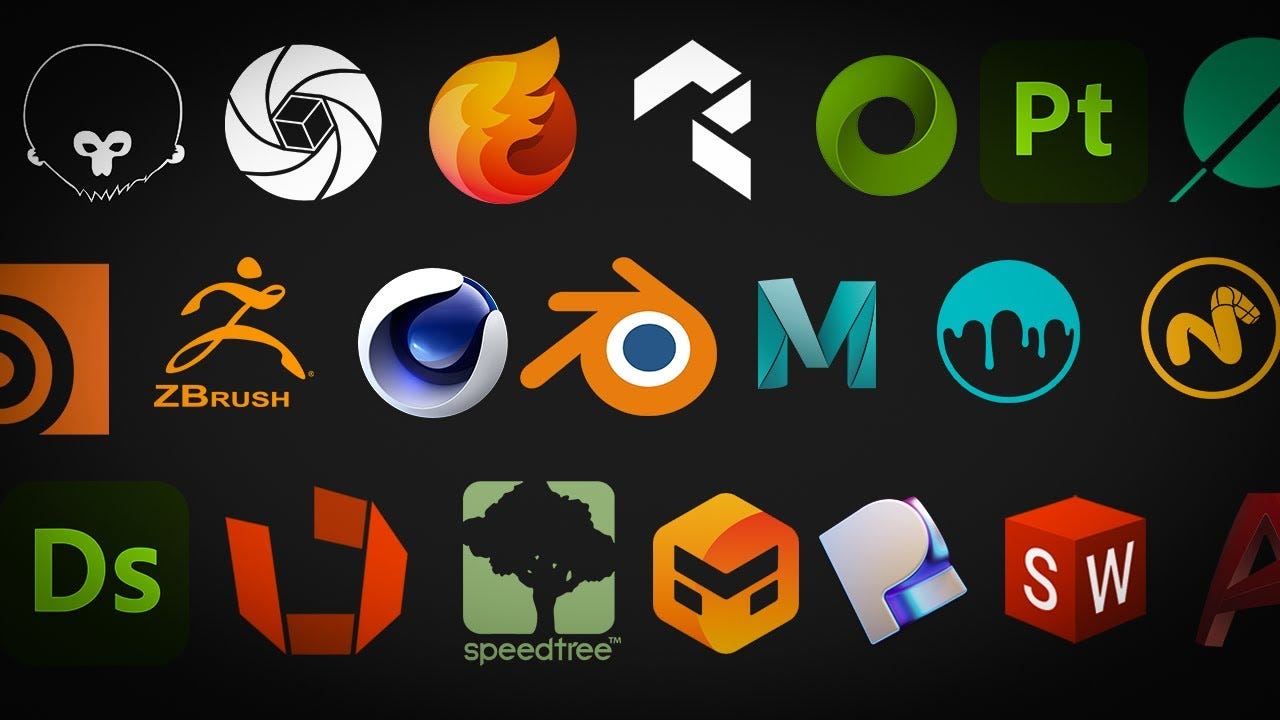
Before you start sculpting your digital clay, you need to pick the right tool for the job. Choosing software is like picking a pizza topping—everyone has their favorite, and there’s no one-size-fits-all. Here are a few popular choices:
- Blender: A free and open-source option that’s powerful enough for professionals yet accessible for beginners. It’s like the Swiss Army knife of 3D software.
- Autodesk Maya: Known for its robust features and used widely in the film industry. It might make your wallet cry, but your models will sing.
- Tinkercad: A browser-based option that’s fantastic for beginners and educators. Think of it as the training wheels of 3D modeling.
- ZBrush: Perfect for detailed sculpting, especially if you’re into character modeling. It’s like digital clay on steroids.
Once you’ve chosen your software, it’s time to get acquainted with its interface. Take a deep breath—it might look intimidating at first, but like any good relationship, it just takes time and effort.
Theoretical Foundations: The Building Blocks

Before you start modeling, it’s helpful to understand some theoretical concepts. Think of it as learning the grammar before writing the next great novel.
Vertices, Edges, and Polygons
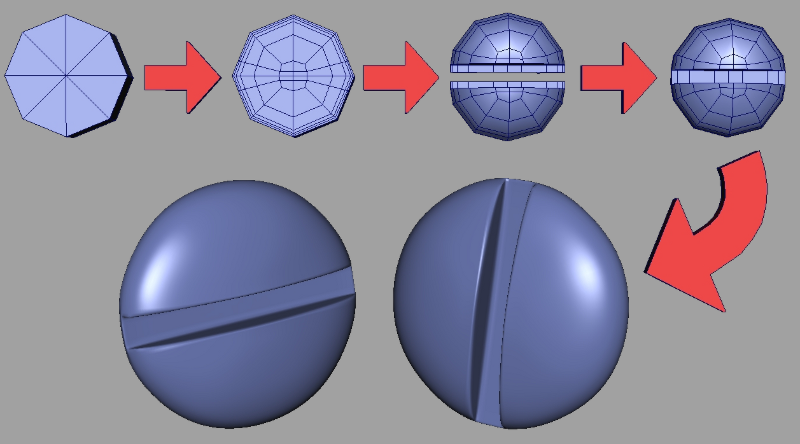
These are the building blocks of 3D models. Vertices are points in space, edges are lines connecting two vertices, and polygons are flat surfaces bounded by edges. Most 3D models are made up of triangles and quadrilaterals. Master these, and you’ll be on your way to creating anything from a simple cube to a complex dragon.
Mesh Topology
Topology refers to the arrangement of a model’s vertices, edges, and faces. Good topology ensures your model deforms well during animation and maintains a clean surface. Think of it as the skeleton of your model—if it’s wonky, your model might end up looking like a Picasso painting. And while that might be cool in an art gallery, it might not be what you want in a 3D model.
Creating Your First 3D Model
Now that you’re armed with the basics, it’s time to start modeling. Here’s a step-by-step guide:
1. Planning Your Model
Before you jump into the software, sketch out your idea. Whether it’s a spaceship, a coffee cup, or a replica of your cat, having a plan helps guide your process. Remember, even Da Vinci didn’t start painting without a plan!
2. Blocking Out the Basic Shapes
Start by creating simple shapes that represent the different parts of your model. This is known as blocking. Imagine you’re making a sculpture out of blocks—get the basic form down before you start chiseling the details.
3. Refining the Model
Once you have your basic shapes, it’s time to refine them. Add more details, adjust the topology, and make sure everything is proportionate. Remember to save often—losing hours of work because you forgot is like accidentally deleting your favorite playlist. Painful!
4. Adding Textures and Materials
This is where your model comes to life. Add colors, textures, and materials to your model to make it look realistic. Think of it as adding frosting to a cake—it’s what makes your model look delicious (or not, if you’re into minimalist design).
5. Lighting and Rendering
Finally, set up your lighting and render your model. This step can dramatically change how your model looks, so take your time to experiment with different lighting setups. It’s like finding the perfect selfie lighting—crucial for showcasing your hard work!
Advanced Techniques and Tips
Once you’ve mastered the basics, you might want to delve into more advanced techniques. Here are a few tips:
- Learn Sculpting: This technique allows for adding fine details to your model, perfect for organic shapes like characters and creatures.
- Practice UV Mapping: This is essential for applying textures accurately. It’s like wrapping a gift—get it right, and everything fits perfectly.
- Experiment with Rigging and Animation: If your models are going to move, you’ll need to learn rigging. It’s akin to puppet strings for your 3D characters.
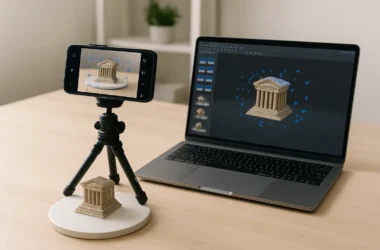
For those looking for inspiration or ready-made models to kickstart their projects, checking out a platform like 3D models can be incredibly useful. These resources can provide a fresh perspective and help you understand professional-level work.
Embracing the Learning Curve
3D modeling can be a steep learning curve, but remember that every expert was once a beginner. Don’t be afraid to make mistakes. They’re just stepping stones on your path to becoming a 3D modeling master. And if you ever feel overwhelmed, take a break, grab a coffee, and remember that even the most complex models start with a single vertex.
So go on, unleash your creativity, and bring your wildest ideas to life in the 3D world. Who knows? You might just create the next iconic character or groundbreaking product. And if not, at least you’ll have some fun along the way. Happy modeling!