
Do you think that 3D printing is only about figurines for board games and key holders for grandma? Well, then hold on tight, because now we’re going to teach you how you can use this same technology to create an entire car body! Modern technologies make it possible to print more and more, and today’s hero is the car body. So why not take advantage of this to create something really big and cool?
A Now we invite you to take a closer look at the possibility of manufacturing!
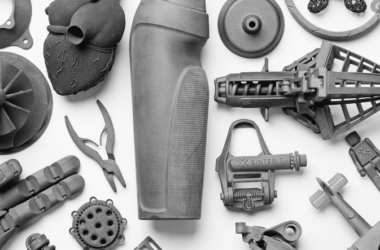
3D printing is revolutionizing many industries, and the automotive industry is no exception. This technology offers unique manufacturing capabilities ranging from rapid prototyping to final production of individual parts or even entire vehicle bodies. With 3D printing, manufacturers can experiment with new designs and materials, significantly reducing production time and costs. This technology allows for the creation of lightweight yet strong components, which is especially valuable in the industry seeking to improve fuel efficiency and improve the dynamic performance of vehicles. 3D printing also supports personalization and localization of production, opening new horizons for automotive companies and their customers.
Advantages
Creating a car body using 3D printing offers a number of significant advantages that could change the way production is done in the automotive industry:
- Weight reduction: Using 3D printing, it is possible to create structures with improved geometries and use materials that traditional methods may not support. This allows you to reduce the weight of the car without compromising its strength and safety.
- Complex Designs: 3D printing allows you to realize complex designs that are difficult or impossible to create using traditional methods. This includes the introduction of unique aerodynamic elements and the integration of various functions into one part without the need for assembly.
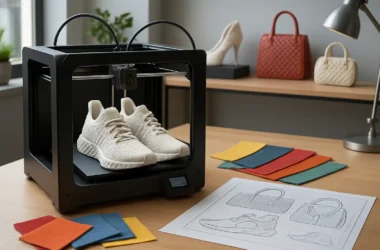
- Personalization: 3D printing opens up the possibility of customizing cars at the manufacturing level. Manufacturers can easily adapt the body design to the specific requirements and preferences of the customer.
- Reduce Waste: Unlike traditional methods, where material is cut from large blocks and much is wasted, 3D printing uses material more efficiently, reducing waste.
- Speeding up the manufacturing process: 3D printing greatly speeds up the process of creating prototypes and final products. This reduces the time from design concept to actual production, allowing companies to bring products to market faster.
- Reduced Cost: By eliminating the need to create expensive molds and tooling for individual parts, 3D printing can significantly reduce the start-up investment in production lines.
- Eco-Friendly: With reduced waste and the ability to use recyclable and biodegradable materials, 3D printing helps reduce the environmental impact of car manufacturing.
Suitable 3D printers
Printing large parts, such as a car body, requires specialized 3D printers that can process large volumes of material and have a fairly spacious work area. Here is a list of some industrial 3D printers that are suitable for such tasks:
- Stratasys Fortus 900mc – This 3D printer is known for its large build volume and ability to handle a variety of industrial thermoplastics, making it ideal for creating large, complex parts.
- 3D Systems ProX 950 – The ProX 950 from 3D Systems is a stereolithography (SLA) printer that offers huge print volume and high precision, which is especially important when creating detailed large parts.
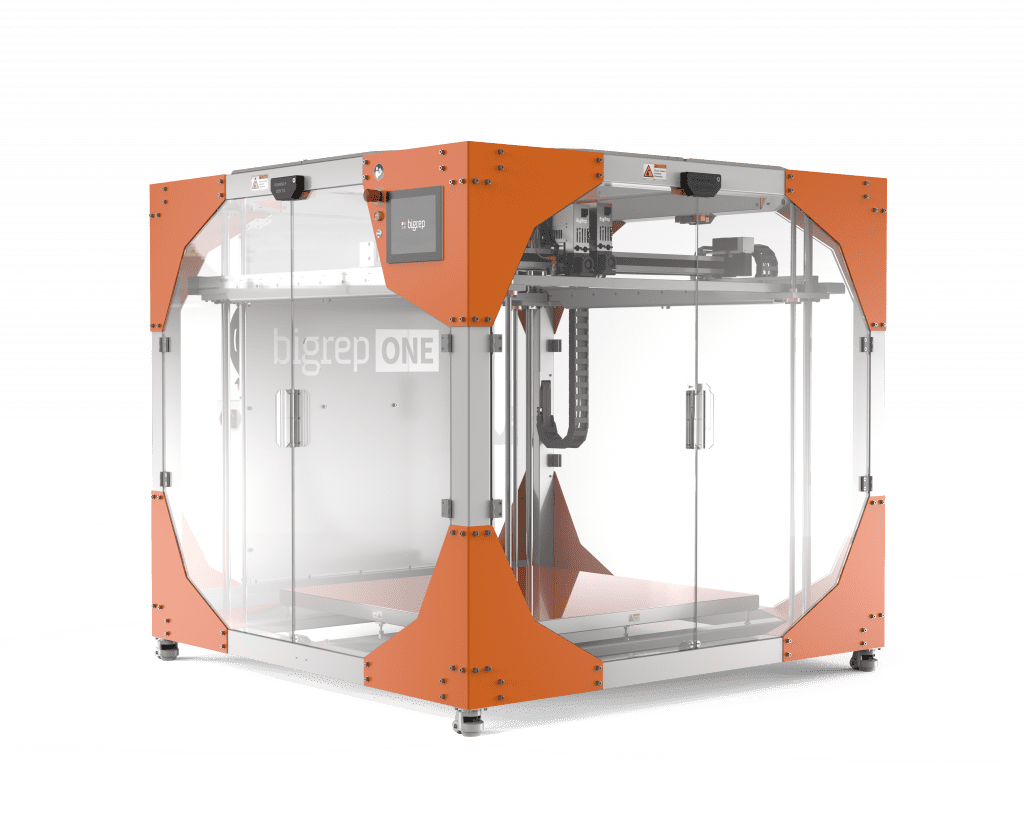
- BigRep ONE – BigRep ONE is designed for industrial 3D printing of large objects, providing impressive print volume and the ability to work with a variety of materials, including high-strength plastics and composites.
- Delta WASP 3MT Industrial 4.0 – This Italian printer has a unique delta design that allows it to print very large parts with high speed and accuracy.
- BAAM (Big Area Additive Manufacturing) – The BAAM printer is designed for very large projects and can print parts several meters in size using extrusion technology similar to that used in traditional 3D printers, but on a much larger scale.
- Massivit 1800 – Designed to create particularly large objects using the unique Gel Dispensing Printing technology, which is suitable for fast and large-scale 3D printing.
These printers are ideal for creating large parts due to their large print chamber, compatibility with a variety of materials, and ability to produce highly accurate and durable printed objects.
Materials

3D printing a car body requires materials that provide the necessary strength, durability and weather resistance. Here are some of the most suitable types of materials:
- ABS Plastic (Acrylonitrile Butadiene Styrene): This thermoplastic material is widely used in automotive applications due to its high impact strength and heat resistance. ABS can be easily processed and has a good surface finish.
- Polyamides (nylon): Polyamides offer excellent mechanical properties and wear resistance, making them ideal for creating parts subject to high stress and friction.
- Polycarbonates: These materials have high impact and heat resistance, as well as good transparency, which can be useful for creating certain body parts.
- ASA (Acrylonitrile Styrene Acrylate): ASA is very similar to ABS, but has improved UV and weather resistance, making it an ideal choice for vehicle exteriors.
- Composite materials: Composites, such as carbon fiber or fiberglass reinforced plastics, offer high strength at a relatively low weight, making them ideal for body parts.
- TPU (Thermoplastic Polyurethane): This flexible material can be used to print items that require resilience and flexibility, such as door seals or other protective coatings.
- PEI (Polyetherimide): High strength thermoplastic with excellent heat resistance and chemical resistance, suitable for automotive parts exposed to high temperatures and harsh chemical environments.
Each of these materials has its own unique properties that make them suitable for various aspects of 3D printing automotive body manufacturing. The choice of material will depend on the specific functionality and aesthetic requirements of the finished part.
CAD modeling
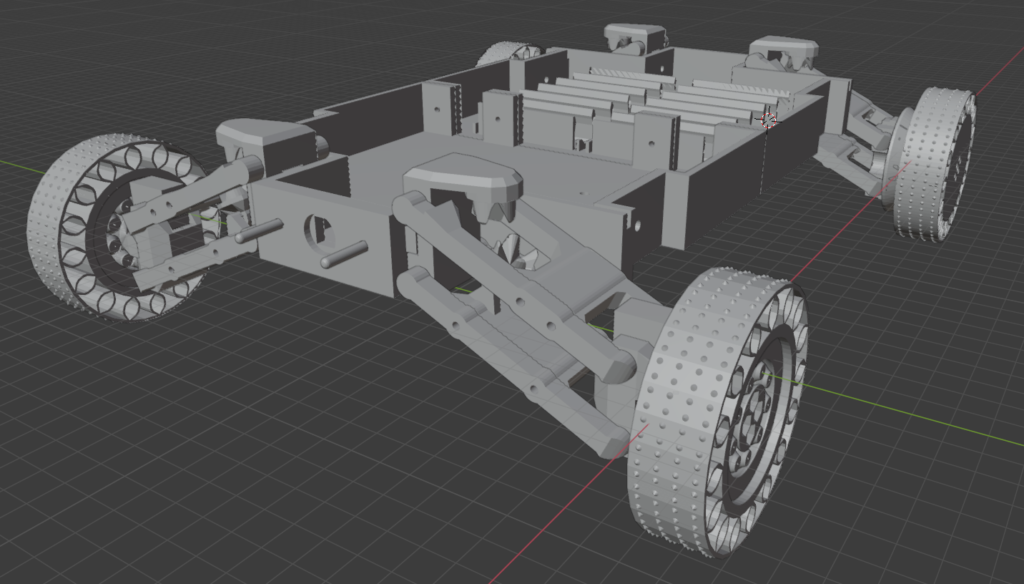
Car body design using CAD (computer aided modeling) plays a key role in the successful application of 3D printing. CAD modeling not only facilitates the design process, but is also an integral part of modern production. Here are a few aspects that highlight the importance of CAD modeling in car body design:
Precision and detail
CAD systems allow designers to recreate every detail of a car body with high precision, which is extremely important for the functionality and aesthetics of the product. Modeling allows you to anticipate how individual elements will interact with each other, and optimize the design for better aerodynamics, strength and efficiency.
Prototyping and testing
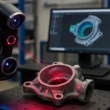
CAD models provide the ability to virtually test a design for a variety of factors, including structural strength and resistance to various loads. This allows potential problems to be identified and corrected before physical production begins, thereby reducing the cost and time required to test actual prototypes.
Integration with 3D printing
CAD files are the direct source material for 3D printing machines, which greatly simplifies the process of transferring a project to production. Modern CAD software allows you to customize material settings, infill density, and other critical aspects to ensure maximum accuracy and print quality.
Resilience and adaptation
CAD technologies are constantly evolving, offering new tools to improve design and design resilience to changes in the production process. This allows automotive companies to quickly adapt to new market demands and introduce innovative solutions.
Standardization and repeatability
With CAD modeling, body designs can be easily reproduced for mass production, ensuring high standardization and quality of the final product. Each element can be accurately copied from the previous one, which is important for mass production.
Taken together, CAD modeling is an integral tool in the process of creating a car body using 3D printing, ensuring not only the technical feasibility of the project, but also its commercial viability.
How to prepare a model
Preparing a car body model for 3D printing requires a careful and thorough approach. This process involves several key steps to ensure the final product is quality, durable and meets all specifications. Here are the main stages of preparing a model for 3D printing:
Design optimization for 3D printing
- Simplify the design: Make sure the model does not contain unnecessarily complex parts that are difficult to print. Avoid elements that are too thin or protruding, which could break during printing or use.
- Wall Dimensions and Thickness: Ensure that all walls and critical elements are of sufficient thickness to not only accommodate the capabilities of your printer, but also provide the necessary strength to the product.
Selecting the right material
- Matching Material to Design Requirements: Select the material that best suits your specific model and operating conditions. For example, for external elements it is worth choosing materials that are resistant to UV and weather conditions.
Use of supports
- Support structure: Depending on the design of the model, it may be necessary to use supports to print overlapping parts or parts with large differences in height. Use appropriate settings in your cutting software to generate optimal supports that can be easily removed without damaging the main model.
Dividing the model into parts
- Modular printing: If the model is too large to print once, divide it into several parts that can be printed separately and then assembled into a single unit. This will not only simplify printing, but also facilitate post-printing.
Configure printing options
- Optimize settings: Adjust print settings to suit your media type and specific printer. This includes print speed, extruder and bed temperatures, and layer infill and resolution.
Checking the model for errors
- Checking STL or CAD Files: Use specialized software to check and correct any errors in the 3D model, such as incomplete surfaces or geometry errors.
Test print
- Testing: Before starting full printing of large elements, it is recommended to test print a small part of the model. This will help ensure that the settings are correct and the quality of the final product.
Each of these steps helps improve print quality, reduce the risk of problems in the process, and increase the strength and durability of the finished vehicle body.
Step-by-step guide

3D printing a car body is a complex process that requires careful preparation and attention to detail. Here’s a step-by-step guide to help you successfully print a car body:
Step 1: Preparing the 3D model
- Check and optimize your 3D model: Make sure the model is correctly exported to a format supported by your 3D printer, usually STL or OBJ. Use software to check for errors in the file and correct them.
Step 2: Selecting and setting up a 3D printer
- Choose the right 3D printer: Make sure the printer can handle the sizes and materials needed for your project. Check the printer’s work area and its ability to handle the selected media.
- Customize Printer Settings: Adjust parameters such as extruder and bed temperature, print speed, layer thickness and infill depending on your material and strength requirements.
Step 3: Preparing to Print
- Load media: Install the media spools into the printer, making sure the filament is clean and not tangled.
- Apply supports as needed: Complex or overlapping structures may require the use of supports to help prevent the material from sagging during printing.
Step 4: Print
- Start printing: Initiate the printing process through your printer interface. Check the process regularly to ensure that printing is proceeding correctly and that there are no problems such as layers shifting or extruder clogging.
Step 5: Finishing
- Cooling and Removing the Model: Allow the body and platform to cool completely before attempting to remove the finished model. This will prevent deformation.
- Removing Supports: Carefully remove all support structures. Use tweezers and other detailing tools if necessary.
- Cleaning and Finishing: Sand, paint or use other finishing methods to achieve the desired appearance and performance.
Step 6: Build and Integration
- Assemble the body if it was printed in parts: Use adhesives or other joining methods to assemble the individual parts into a single whole.
- Integration with other car parts: Install the body on the car chassis, connect with other systems such as electrical and mechanical to complete the assembly.
Сhallenges

Printing large objects with a 3D printer comes with unique challenges. Here are some common problems you may encounter and how to solve them:
Deformation and peeling of the first layer
Problem: When printing large objects, edges may peel or warp due to temperature differences between hot and cold areas. Solution:
- Use a heated platform to heat the entire surface evenly.
- Use adhesive sprays or adhesives to improve the adhesion of the first layer to the platform.
- Set a higher initial print temperature for the first layers.
Cooling problems
Problem: Large objects may experience uneven cooling, resulting in internal stress and distortion. Solution:
- Adjust the cooling speed in the printer settings, using slower cooling for larger objects.
- Avoid drafts and sudden temperature changes in the room where the printer is located.
Offset layers
Problem: When printing large objects, layers may shift due to vibrations or errors in the printer drives. Solution:
- Make sure all mechanical components of the printer are tight and operating smoothly.
- Set the print speed to a lower speed to reduce vibration.
- Check and, if necessary, calibrate stepper motors.
Extruder clogging
Problem: When printing large volumes of material, the extruder can become clogged, causing print interruptions. Solution:
- Clean the extruder regularly and check for blockages.
- Use quality filament that meets the specifications of your 3D printer.
Lack of material
Problem: Large prints require a lot of material and may not have enough during the process. Solution:
- Before you start printing, make sure you have enough filament for the entire print.
- Use the filament sensor feature, if available, to automatically pause printing when the material runs out.
Lack of strength and structural integrity
Problem: Large objects may not be strong enough if the fill mode is not selected correctly. Solution:
- Select the optimal filling mode and wall thickness depending on the required strength of the object.
- Use additional internal supports to increase structural integrity.
After printing
Post-printing and assembly of individual 3D printed vehicle body parts are critical steps to achieving high quality and functionality in the finished product. Here are some methods and techniques to help you with this process:
Cleaning and removing supports
- Removing Supports: After printing is complete, carefully remove all support structures. Use scissors, pliers or special tools to remove supports.
- Cleaning surfaces: Remove any remaining material and level the surfaces. This can be done using sandpaper or an electric sander.
Sanding
- Hand Sanding: Use different grits of sandpaper for initial and fine sanding. Start with a coarser paper to remove large imperfections and gradually work your way down to a finer paper to achieve a smooth finish.
- Mechanical Sanding: For large and complex surfaces, electric sanders can be used.
Gluing parts
- Adhesive Selection: Use a specialized plastic adhesive such as epoxy resin, cyanoacrylate (superglue) or acrylic glue, depending on the material of your product.
- Fitting the parts: Make sure all parts fit perfectly before gluing. If necessary, sand the surfaces to be joined.
Sealing seams and eliminating defects
- Filling seams: Use putty or epoxy resin to fill the seams between glued parts. This will not only strengthen the connection, but also improve the appearance.
- Finishing: After the putty has dried, give it a final sanding for maximum smoothness.
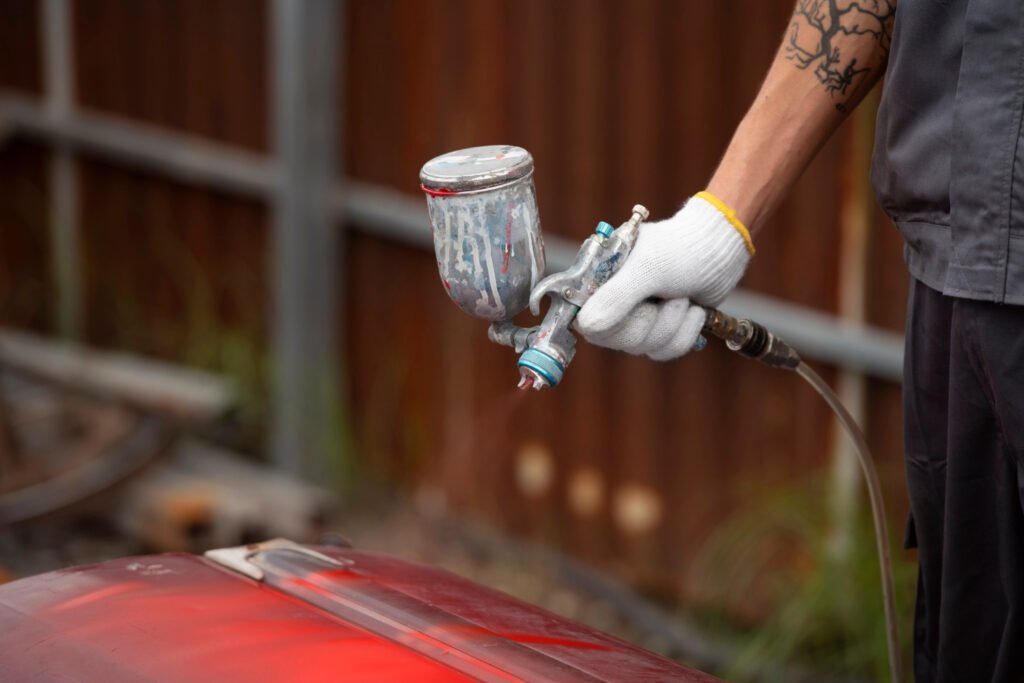
Painting
- Primer: Apply a primer coat to improve paint adhesion. This will also help hide minor surface defects.
- Painting: Use paint suitable for the material you choose. Apply paint evenly using a sprayer or airbrush to achieve a professional appearance.
Final assembly and installation
- Assembly: Assemble all machined and painted parts into a single body.
- Installation: Attach the body to the vehicle chassis, making sure all connections are correct and secure.
Finishing
Achieving a perfect surface on a 3D printed car body requires careful finishing. Here are a few finishing techniques that will help you improve the appearance and quality of your piece:
Sanding
Sanding is the first and one of the most important stages in surface finishing:
- Start with coarse sandpaper to remove larger imperfections.
- Progress to finer sandpaper as the surface becomes smoother.
- To achieve an especially smooth finish, use wet sanding to help reduce the visibility of the print layers.
Chemical finishing
Chemical treatments can be used to smooth the surface of plastics such as ABS:
- Acetone steam treatment: Treatment of ABS products with acetone steam softens the top layer, which then self-levels and becomes shiny and smooth.
- Be careful as acetone is highly flammable and can be harmful to health if used incorrectly.
Application of putty
To fill cracks, seams or imperfections on the surface, use putty:
- Apply putty to cleaned and prepared areas.
- After the putty has dried, apply additional sanding to obtain a smooth surface.
Primer and painting
The primer prepares the surface for painting and helps hide minor defects:
- Apply a coat of primer before painting.
- Use quality paints suitable for your material (for example, special paints for plastics).
- Apply paint in thin layers, using a sprayer or airbrush for even coverage.
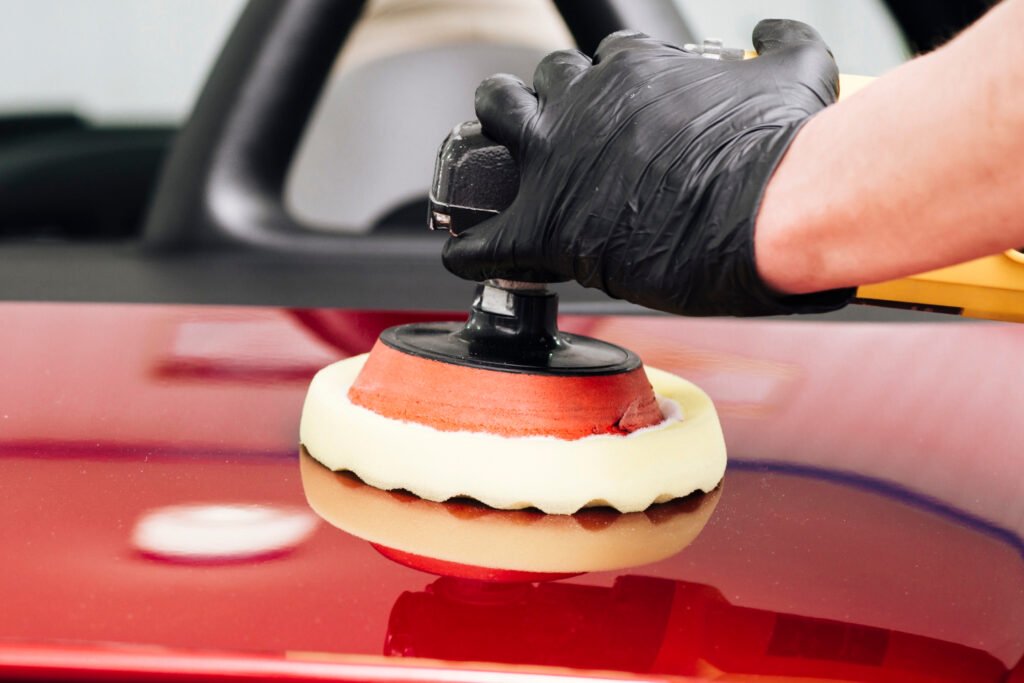
Polishing
Polishing is the final step to achieve a shiny, mirror-like surface:
- Use polishing pastes and soft cloths or polishing machines.
- Polish the surface thoroughly until the required gloss is obtained.
Protective coating
Protective coatings, such as varnishes or specialized protectants, can be used to improve the appearance and protect the finish:
- Apply a clear protective coat to protect the paint from scratches, UV rays and weather conditions.
- Choose products that are compatible with the base material and previous finish layers.
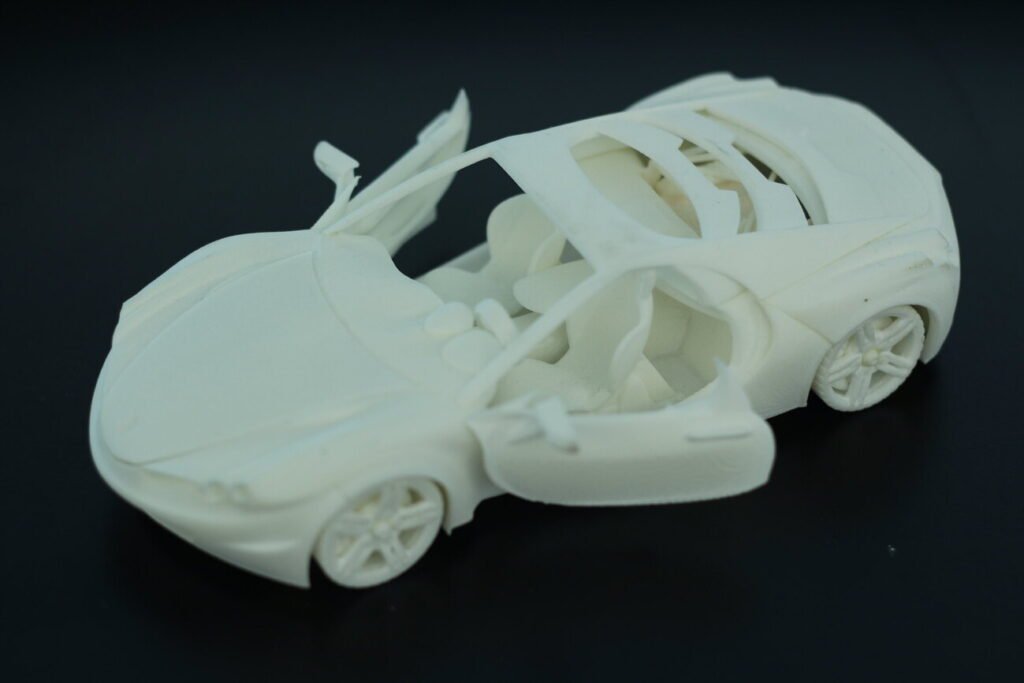
Examples
Examples of successful projects where 3D printing was used to create car bodies show the capabilities and potential of this technology in the automotive industry. Here are some great implementations:
Strati of Local Motors
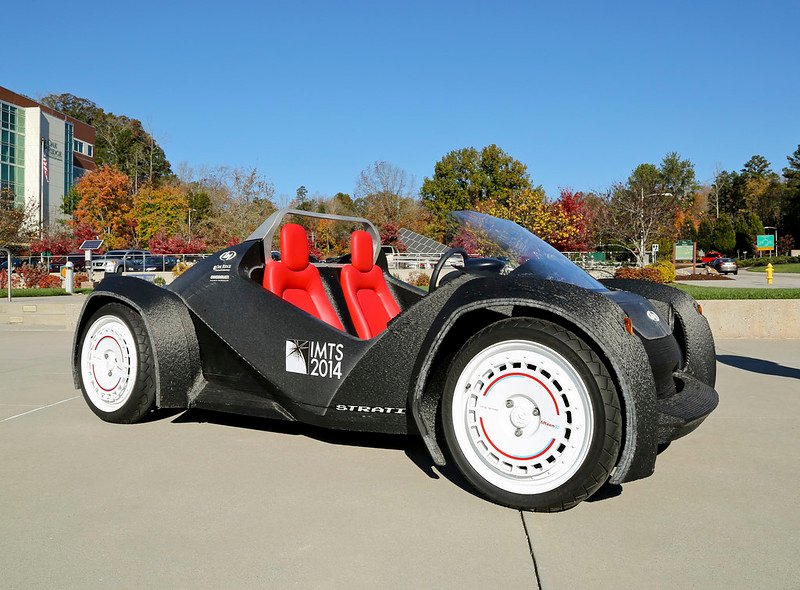
Local Motors revolutionized the automotive industry with the Strati, the world’s first car with an entirely 3D printed body. Using a carbon fiber and plastic composite material, Strati was printed in just 44 hours. This project demonstrates how 3D printing can reduce the number of components in a car and significantly speed up the assembly process.
Urbee from Kor Ecologic
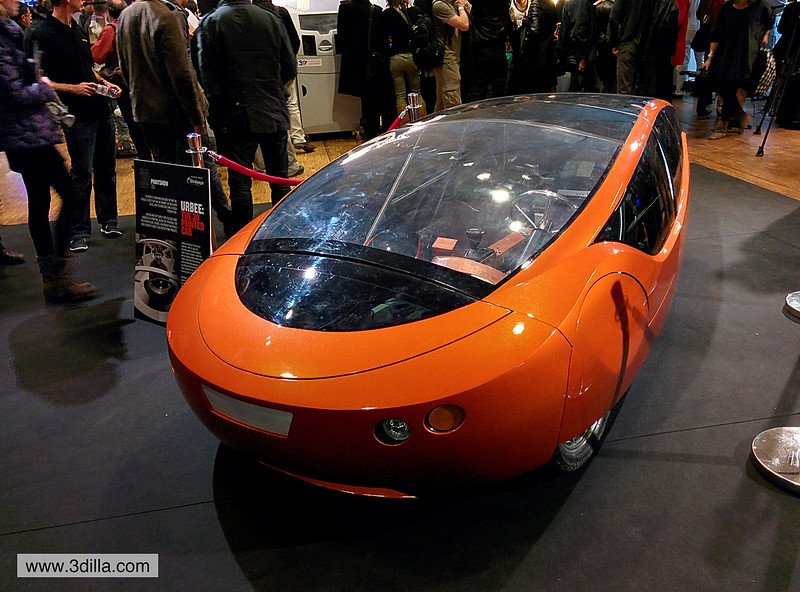
Urbee is the first car with a body that was also created entirely using 3D printing. Designed by Kor Ecologic, this vehicle stands out for its futuristic design and eco-friendly features. The Urbee is designed for maximum aerodynamics and fuel efficiency, made possible by carefully optimizing the body shape through 3D modeling and printing.
LSEV from XEV & Polymaker
XEV teamed up with Polymaker to introduce the LSEV, which is one of the first mass-produced electric vehicles with a 3D printed body. This compact city car features a minimalistic design and offers revolutionary low production costs by reducing the number of parts used in production.
Diverging Blade
Divergent 3D has developed a technology for printing car chassis elements that allows the creation of lightweight and durable components. Their first demonstration project, Blade, features a 3D printed body and chassis that significantly reduces the vehicle’s weight and improves its performance characteristics.
3D Printed Shelby Cobra
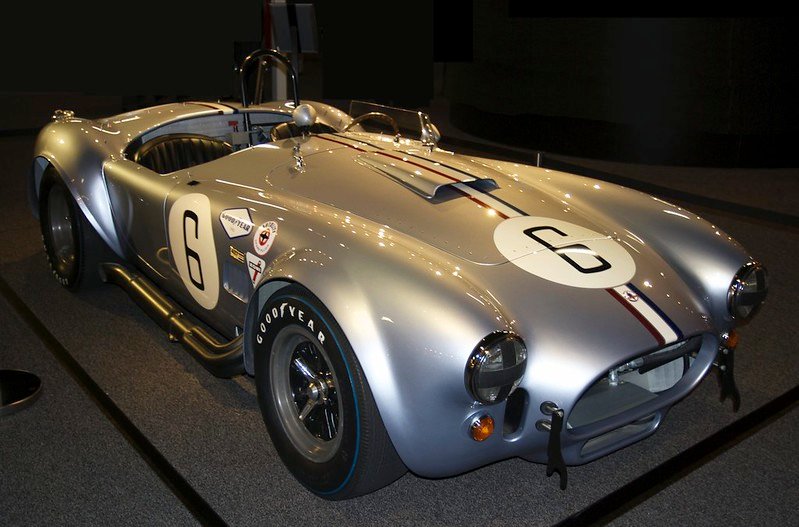
Oak Ridge National Laboratory (ORNL) in the USA created an exact replica of the famous Shelby Cobra using 3D printing. The project demonstrates how customized, high-quality cars can be created quickly and relatively inexpensively.
3D printing continues to revolutionize the automotive industry, offering a number of significant benefits that could change the future of the industry. This technology not only speeds up the development and production process, but also opens up new opportunities for innovation, sustainability and vehicle personalization.
Innovation in design and production
With 3D printing, car manufacturers can experiment with more complex and optimized designs that would be unattainable with traditional manufacturing methods. This includes creating lightweight yet durable components, resulting in improved fuel efficiency and reduced CO2 emissions.
Reducing waste and increasing sustainability
3D printing allows materials to be used more economically, reducing the amount of waste produced during the manufacturing process. This approach not only reduces costs, but also reduces the environmental impact, making vehicle production more sustainable.
Personalization at a new level
3D printing technology opens up the possibility of creating fully customizable cars to suit individual customer preferences and needs. This can be a significant competitive advantage for manufacturers seeking to meet the unique needs of their customers.
Challenges and prospects
Despite the many benefits, there are also certain challenges such as equipment costs, printing speed and material durability. Progress in improving 3D printing materials and technologies, however, is constantly reducing these barriers, making 3D printing increasingly accessible and efficient.
Conclusion
Overall, the potential of 3D printing in the automotive industry is enormous, and its realization could fundamentally change the way cars are designed, manufactured and consumed. In the future, we can expect this technology to become an integral part of the automotive industry, offering new solutions to current and future challenges.
In conclusion, we can say that 3D printing in the automotive industry is not just a trend, it is a real challenge to traditional manufacturing. If earlier we could only dream of cars from science fiction films, now, thanks to 3D printing, we can print them! I wouldn’t be surprised if one day my car just came out of the printer, ready for the road, and to the question: “Where did you get that car?” I can answer: “I downloaded it from the Internet!”
And while we can’t print a new car every day just yet (as tempting as that may be), it’s clear that 3D printing opens up amazing opportunities for the automotive industry. From experimental designs to complete personalization, the possibilities seem endless. Well, until we learn how to print cars like cakes, keep your 3D printers ready and remember: every kilometer begins with one layer!