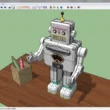

Hey there! So, the other day, I stumbled upon something pretty fascinating. Have you ever thought about how cool it would be to create a 3D model of something just sitting in your living room? Imagine scanning your favorite mug or that quirky little sculpture you made back in art class. Well, that’s where the magic of 3D scanning comes in, specifically the DIY kind. Yes, you heard it right—building your own 3D scanner at home! It sounds like something out of a sci-fi movie, doesn’t it? But trust me, it’s both doable and incredibly rewarding.
Now, before we dive into the nuts and bolts, let’s chat about why this matters. In today’s world, 3D scanning is no longer confined to high-tech labs or professional studios. It’s making its way into homes, schools, and hobbyists’ workshops. And why not? It’s a brilliant way to blend creativity with technology. Plus, with the rise of 3D printing, having a personal 3D scanner means you can replicate or modify objects like never before. It’s like having your own digital replicator. Captain Picard would be proud!
Why Build a 3D Scanner Yourself?
So, why go through the trouble of making one yourself when there are ready-made options out there? Great question! Here are a few reasons:
- Cost-Effectiveness: Buying a commercial 3D scanner can be quite an investment, whereas building one can be significantly cheaper.
- Learning Experience: The process of creating your own scanner is a fantastic learning opportunity. You’ll get to dive into the principles of photogrammetry, laser triangulation, or whatever method you choose.
- Customization: DIY projects allow you to tailor the scanner to your specific needs. Want to scan larger objects? You can design your setup accordingly.
- Satisfaction: There’s a unique satisfaction in creating something from scratch that actually works. It’s like the modern-day equivalent of building a ship in a bottle.
The Basic Ingredients
Alright, let’s talk about what you’ll need to get started. The components of a DIY 3D scanner can vary based on the method you choose, but here are some basics:
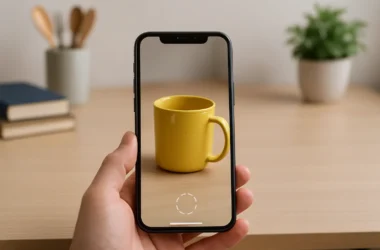
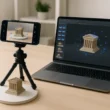
1. Camera: A good quality digital camera or even your smartphone camera could work for photogrammetry. The higher the resolution, the better the results.
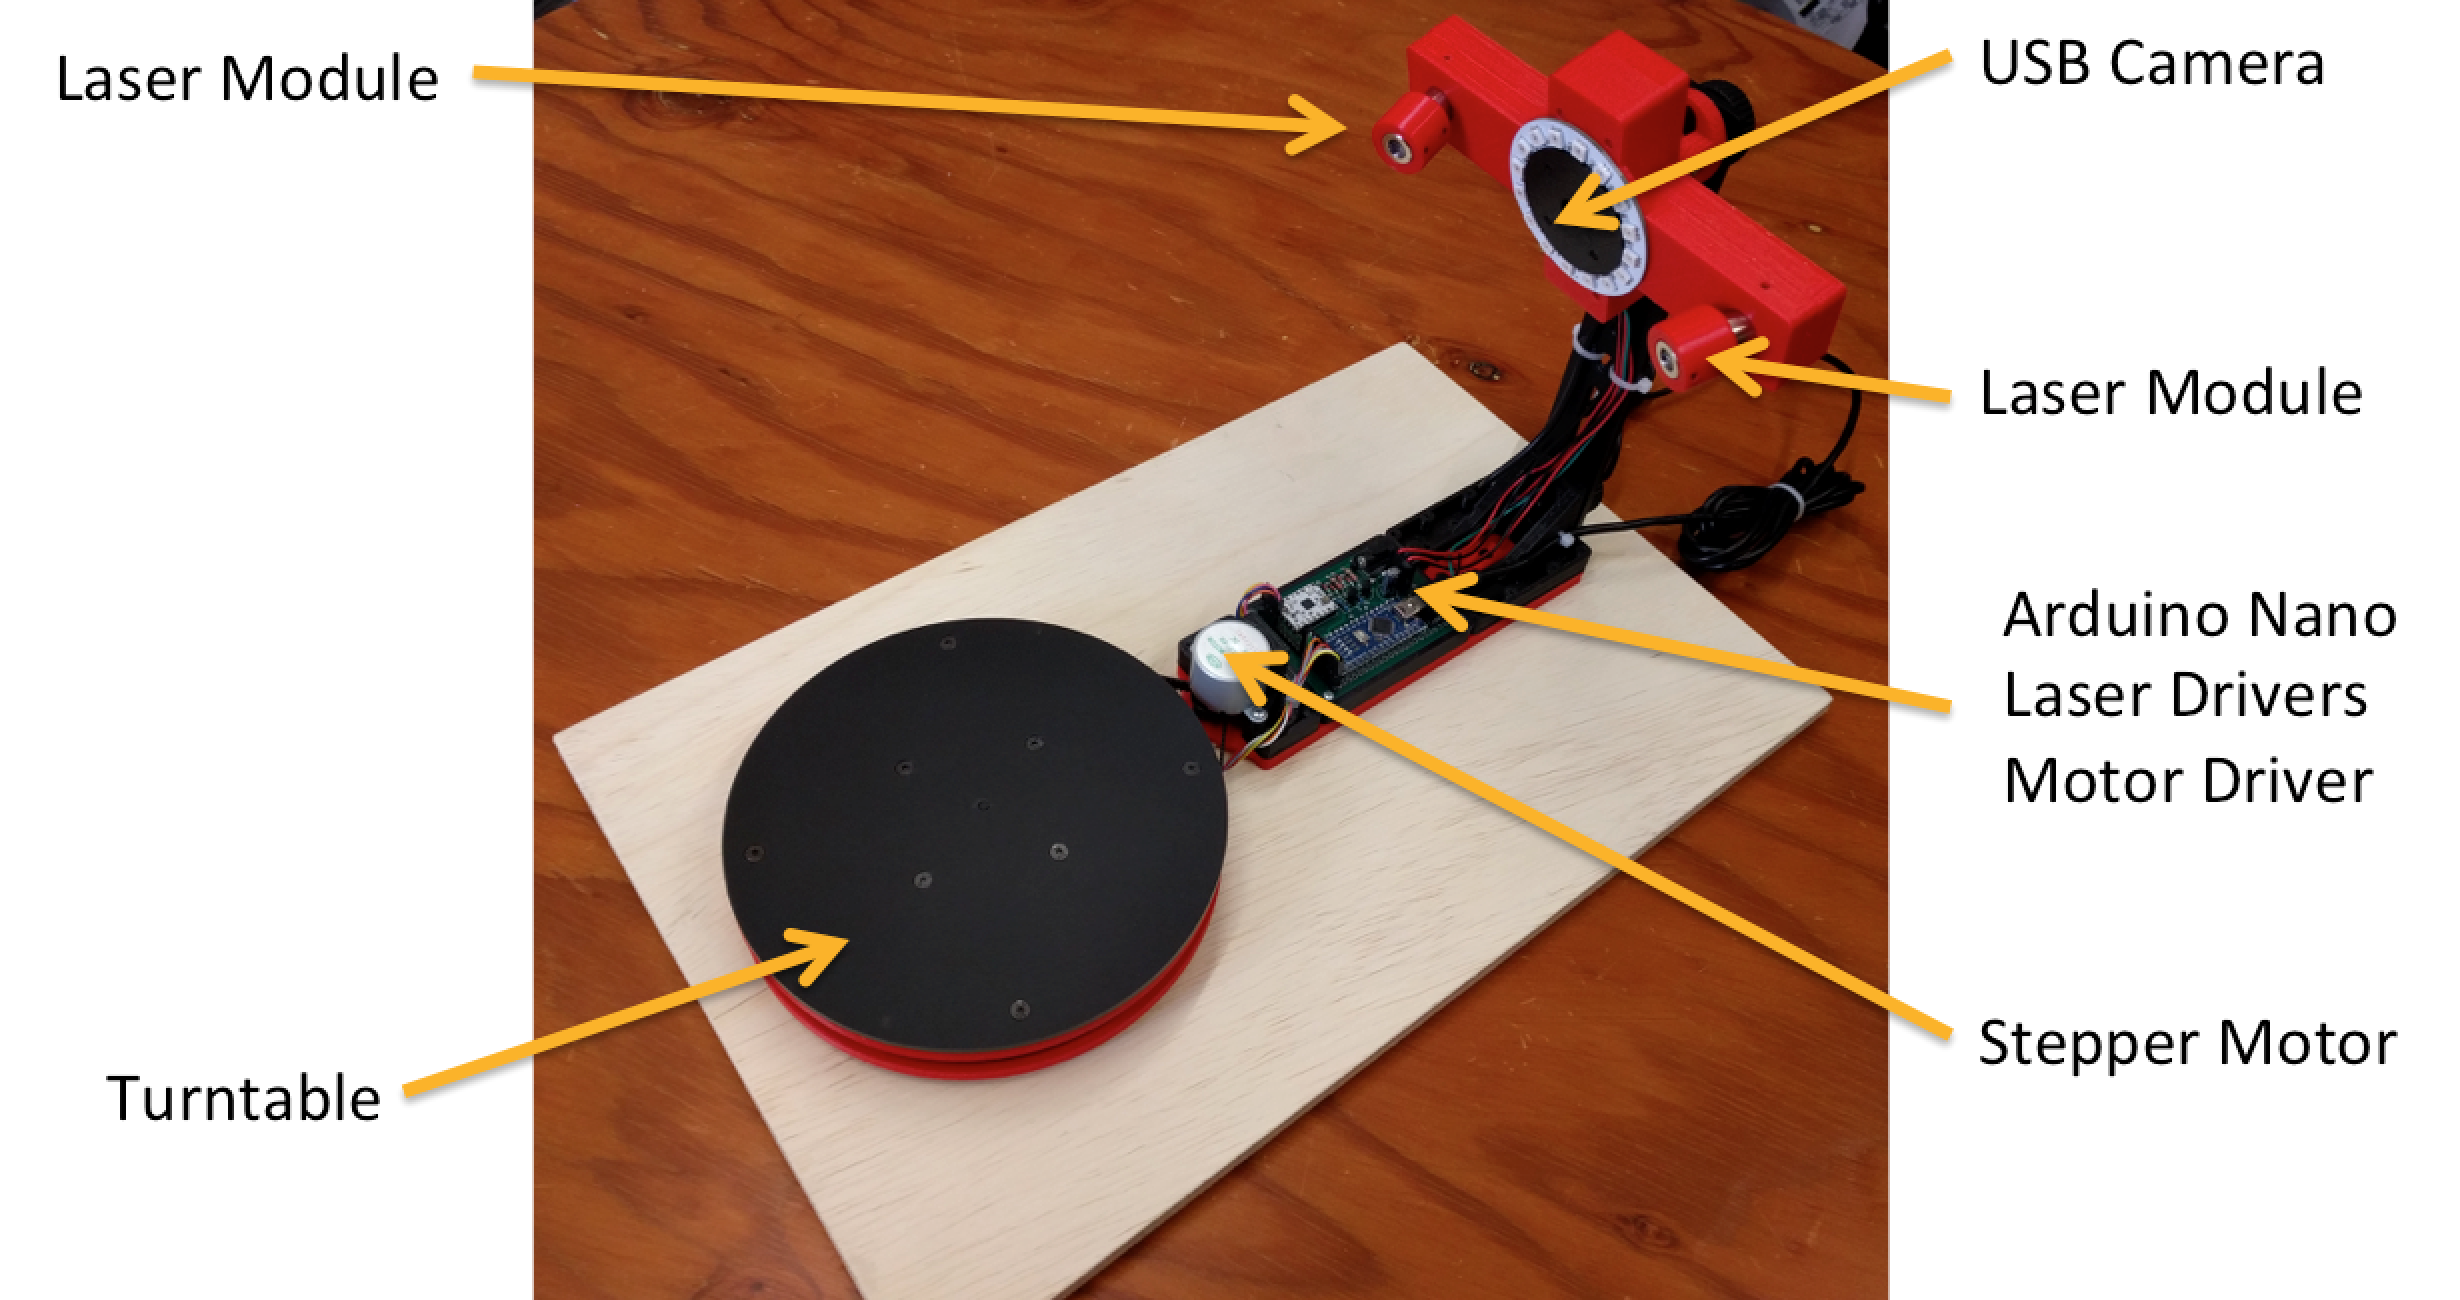
2. Laser Pointer: If you’re going for a laser-based scanner, a simple laser pointer will be essential. It helps in capturing the object’s dimensions accurately.
3. Turntable: A rotating platform is incredibly handy. It ensures that the object can be scanned from all angles with ease. You could use a motorized one or even a lazy Susan from your kitchen!
4. Software: There are various free and open-source software options available that can help you process the images and create a 3D model. Some popular ones include Meshroom and Skanect.
Getting Started: The Fun Part
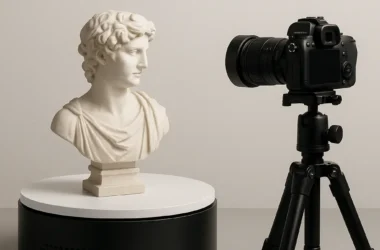
Once you have your materials, the fun part begins. You’ll need to set up your camera and laser (if using one) so they can capture the object from different angles. If you’re using a turntable, place your object on it and start taking pictures as it rotates. Remember, consistency is key here. The more angles you capture, the more detailed your 3D model will be.
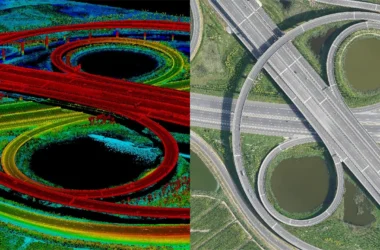
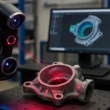
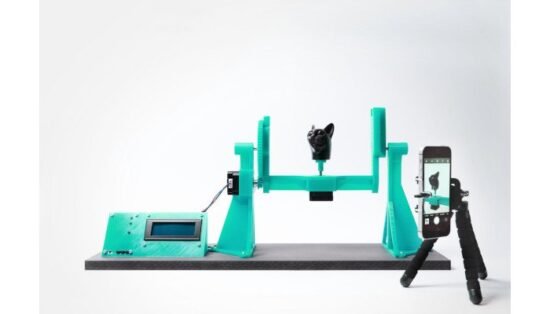
Then comes the magical moment—using the software to stitch these images together to create a 3D model. It’s a bit like watching a Polaroid picture develop, except way cooler! And if you’re ever curious about how the pros do it, you can always look into a professional 3D scanner for inspiration.
Challenges and Triumphs
As with any DIY project, expect a few hurdles along the way. Lighting conditions, camera stability, and software quirks can all pose challenges. But hey, that’s part of the adventure, right? Each obstacle is just another opportunity to learn and improve. And when you finally see that first 3D model come to life, it feels like a triumph worthy of a victory dance. (Trust me, I’ve been there!)
Bringing It All Together

So, there you have it—a peek into the world of DIY 3D scanning. It’s a blend of art and science, patience and excitement. Whether you’re a tech enthusiast, an artist, or just someone who loves a good project, building your own 3D scanner can be an incredibly rewarding experience. Who knows? It might just become your next favorite hobby.
As you embark on this journey, remember to have fun with it! Experiment with different objects, play around with lighting, and let your creativity run wild. And if you ever feel stuck, just imagine you’re a wizard conjuring digital replicas out of thin air. Now, isn’t that a magical thought?
Happy scanning, my friend!