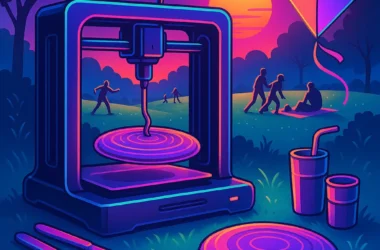

Let’s talk about something that seems out of the realm of science fiction – printing food on a 3D printer. We can already print houses, clothes and even organs, so why not have something printed for lunch? Sounds weird? Maybe. Is it possible? Absolutely!
Basics of 3D Food Printing
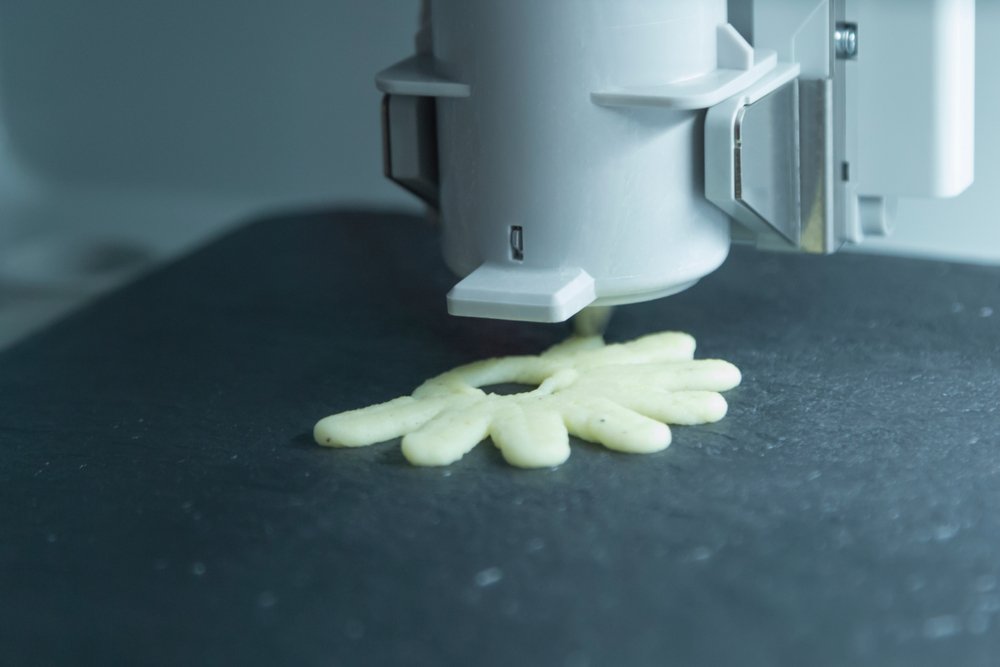
3D food printing works on the same principle as regular 3D printing, but instead of plastic, it uses avocado puree, chocolate or dough. The choice of ingredients is wider than on grandma’s New Year’s table, but there is one “but” – they all must be paste-like enough for the printer to work with them. Are we printing pancakes? Easily! Pizza? No problem. Steak? Well, we’ll have to wait for the development of technology. Well, let’s take a closer look at this opportunity!
Choosing a 3D Printer for Food
Don’t try to fit cookies into your old office 3D printer. We are looking for a specialized device that will not confuse flour with printing powder.
When choosing a 3D printer for food, there are a few key factors to consider: compatibility with food materials, ease of cleaning, and availability of appropriate safety certificates. Here are three mid-range models that may be of interest to budding culinary innovators:
Foodini by Natural Machines
- Description: Foodini is one of the first and most famous food 3D printers on the market. It allows you to use your own ingredients for printing and offers a wide range of culinary options.
- Price: Approximately $4,000.
- Where to buy: Check Natural Machines official website or authorized dealers.
Bocusini Pro 3.0
- Description: Bocusini Pro 3.0 is suitable for both professional cooks and enthusiasts. It provides accurate and detailed printing of complex dishes and confectionery products.
- Price: Around $2,500.
- Where to buy: Study the offers on the manufacturer’s website or in specialized online stores of culinary equipment.
ByFlow Focus
- Description: This portable 3D food printer is ideal for those who want to experiment with printing food in different places. It is easy to use and convenient to transport.
- Price: Around $3,500.
- Where to buy: Visit the official ByFlow website or look for offers from the company’s partners.
Ingredients
Preparing ingredients for 3D food printing is an art that requires creativity and a little science. Let’s see which products are suitable for this process and how they can be used:
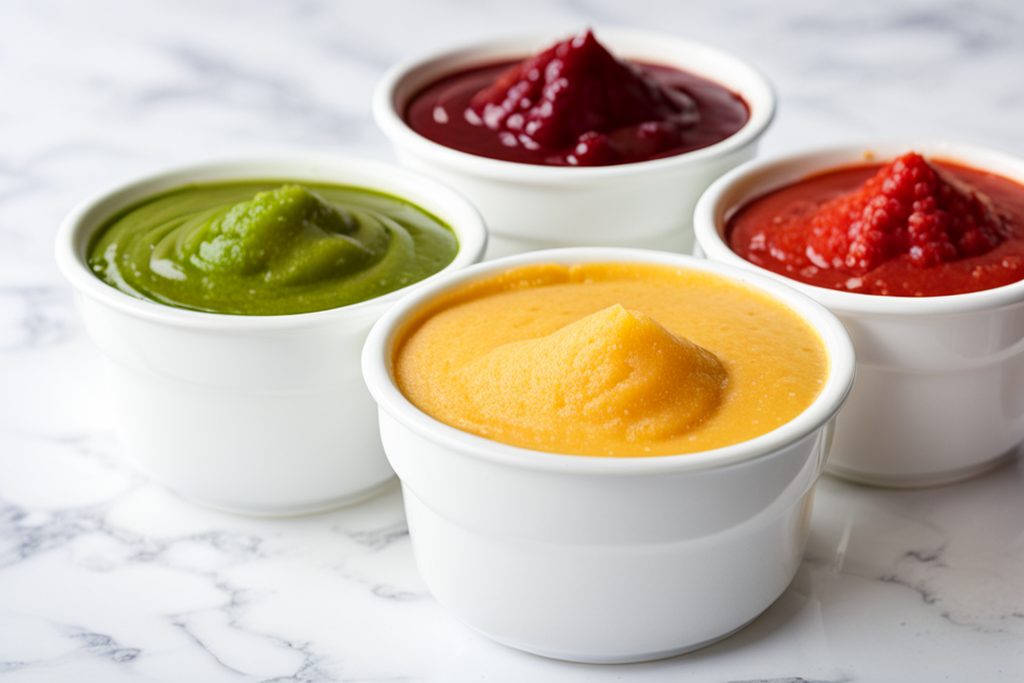
Purees and pastes
- Examples: Avocados, bananas, potatoes, tomatoes, eggplants.
- Application: These products are ideal for creating smooth and uniform pastes that are easily pushed through the print head of a 3D printer. They can be used to create molded side dishes, decorations for dishes, or bases for more complex culinary products.
Gelling agents
- Examples: Agar-agar, gelatin, pectins.
- Application: Gelling agents help give liquid ingredients the required consistency for 3D printing. They can be used to create complex structures such as realistic models of fruits, vegetables or even complex desserts.
Chocolate and confectionery masses
- Examples: Dark, milk and white chocolate; marzipan; sugar paste.
- Application: Chocolate and confectionery mixtures are excellent materials for 3D printing due to their ability to harden after cooling. They can be used to create complex confectionery products, cake decorations and desserts.
Dough
- Examples: Cookies, pizza, bread dough.
- Application: The dough can be adapted for 3D printing by changing its viscosity. After printing, products usually require baking in the oven to achieve final readiness.
Protein pastes
- Examples: Puree from boiled meat, fish, beans.
- Uses: Protein spreads can be used to create nutritious and delicious dishes, although they require careful preparation to ensure safety and taste.
Preparation
- Peeling and Grinding: Fruits and vegetables should be thoroughly peeled and ground into a paste or puree.
- Adjusting Viscosity: It is important to adapt the viscosity of the ingredients to the requirements of your 3D printer. Sometimes this requires adding liquid or vice versa – thickeners.
- Temperature Control: Some ingredients, such as chocolate, require strict temperature control during printing.
And remember, safety comes first: all products must be fresh and processed in accordance with hygienic standards.
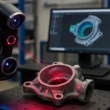
Designing and modeling for 3D food printing is a process where your culinary dreams become reality. With the help of specialized software, you can create unique shapes and designs that previously seemed impossible.
Forms and possibilities
You can model virtually any shape, from simple geometric shapes to complex 3D portraits and landscapes. In the culinary world, this opens the door to creating unique desserts, centerpieces, custom logo cookies, or even themed appetizers for events.
Design and Modeling Tips
- Start simple: If you are new to 3D modeling, start by creating simple shapes and gradually move on to more complex designs.
- Consider the Material: Remember that not all molds will work equally well with different types of food materials. Some parts may be too thin or difficult to print with certain ingredients.
- Test your ideas: Before you move on to printing the actual product, you can make test prints with cheaper and more readily available materials.
3D modeling software
- Tinkercad: Great for beginners, free and very easy to use.
- Blender: A powerful 3D modeling tool that is free and open source. It has a cool line of tools, but takes time to master.
- Fusion 360: Advanced CAD and CAM software from Autodesk. Suitable for more experienced users. Provided free for hobby and student/teacher use, but paid for commercial use (cost varies, depending on subscription, can start at $60 per month).
Where to find
The software can be downloaded directly from the official developer sites. Most platforms offer training materials, tutorials, and community support, making the learning and onboarding process much easier.
In addition to the main programs, there are specialized platforms and add-ons designed specifically for food design. These tools may have additional functions such as printability analysis and formulation optimization.
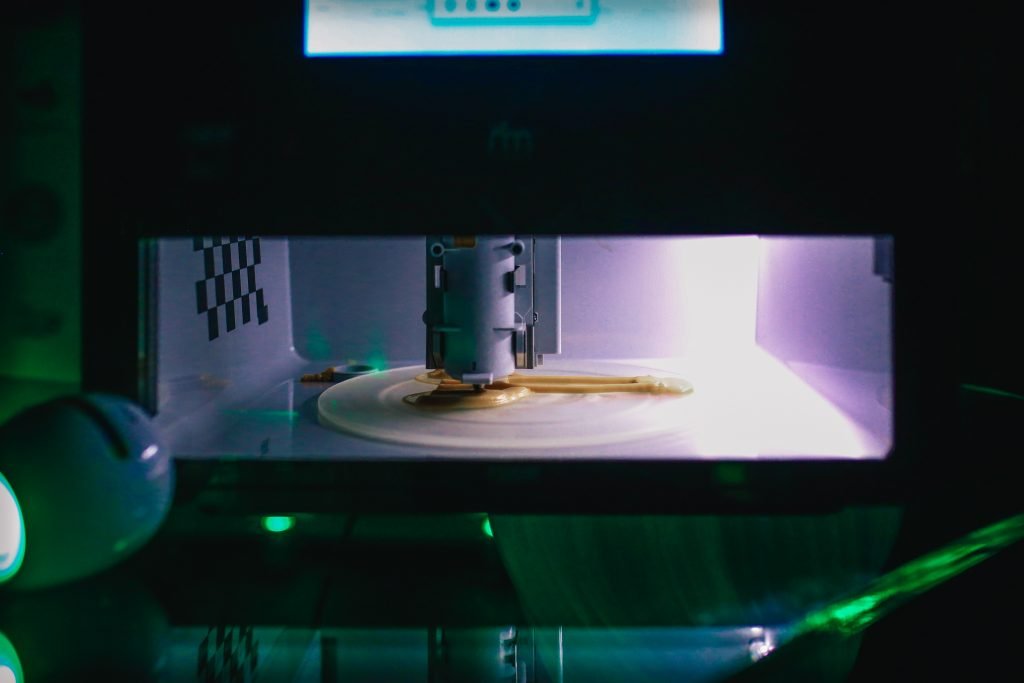
Printing process
The process of printing food on a 3D printer is not only the magic of modern technology, but also an art that requires attention to detail. Here are some tips to help make this process successful and safe:
Equipment check
- Cleanliness: Make sure your 3D printer and all of its food contact components are thoroughly cleaned. This will prevent contamination and preserve the flavor of your food.
- Technical condition: Check that all parts of the printer are working properly, especially the print head and feed mechanism.
Preparing and loading ingredients
- Consistency: Make sure the puree or paste for printing is the right consistency. Ingredients that are too thin or thick can lead to unpredictable results.
- Even Loading: Load ingredients evenly to avoid air bubbles and ensure a stable flow of material.
Printer settings
- Temperature: Set the correct temperature for the print head and/or heated bed based on the type of ingredients used.
- Print Speed: Speed can have a significant impact on print quality. Printing too quickly can cause warping, while printing too slowly can cause the material to dry out.
While printing
- Monitoring: Check the printing process regularly to ensure everything is going according to plan. Pay special attention to the first layers, as they are the basis of the entire structure.
- Hygiene: Ensure that the printing process does not cause contamination of the product.
After the seal
- Cooling: Allow food to cool properly or set, if necessary, before removing it from the platform.
- Cleaning: Clean your 3D printer thoroughly after each use to prevent bacteria from forming and keep it in working condition.
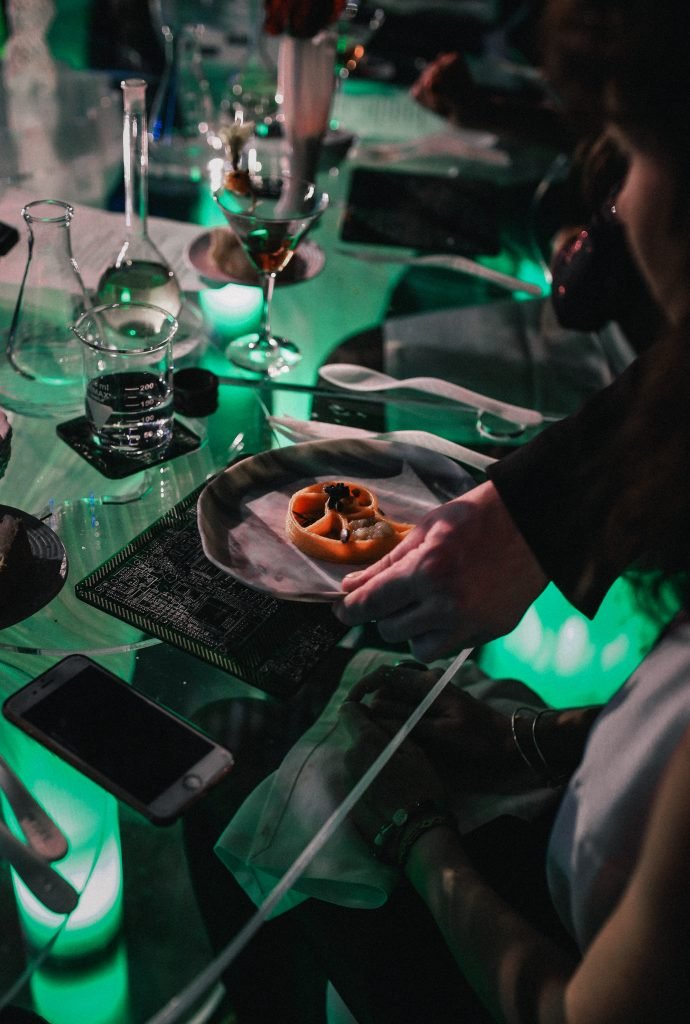
Post-processing and serving are important steps in the process of creating food using 3D printing. This is your chance to add the finishing touches that will turn your printed dish into a true culinary work of art. Here are some recommendations on how to do this:
Cooling and curing
- Patience: Allow the dish to cool completely and set, if necessary, before post-processing. Some materials, like chocolate or jelly, require time to cure.
- Maintaining Shape: Make sure the dish is in the right conditions to retain the shape and texture you’ve created.
Additional processing
- Trimming: Use a sharp knife or special tools to remove any excess edges or irregularities that may have appeared during the printing process.
- Glazing and Marinating: Add extra flavor and shine to your dish using sauces, glazes or marinades.
Decor and decoration
- Get creative: Use fresh herbs, edible flowers, powders and spices to add color and flavor to your dish.
- Texture: Add crunchy elements or contrasting textures to add interest to the dish, both visually and tastefully.
Feed
- Plate as Canvas: Choose a suitable plate or dish that will highlight the beauty of your 3D dish. Sometimes simplicity best highlights the complexity of your creation.
- Composition: Place the elements on the plate so that they harmoniously combine with each other, creating a balance of colors and shapes.
Final touches
- Sauces and Drips: Use sauces and creams to create beautiful patterns and drips on your plate.
- Edible Gold and Glitter: For particularly special occasions, you can use edible gold or glitter to add a touch of luxury.
Remember that the ultimate goal of post-processing and serving is not only to decorate the dish, but also to highlight its taste and uniqueness.
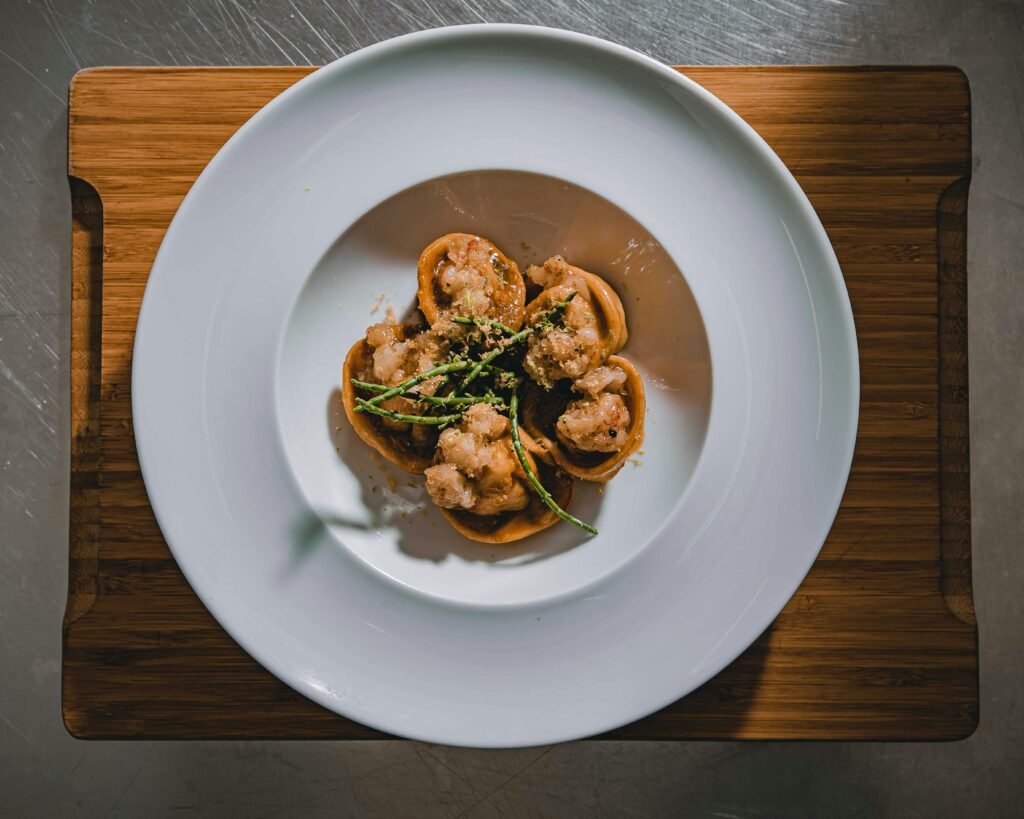
Examples
3D printing in culinary applications opens up new horizons for chefs and restaurants, allowing them to create unique and innovative dishes. Here are some inspiring examples and case studies showing how 3D printing has transformed the world of gastronomy.
Restaurant Food Ink. (Permanently closed)


- Location: London, UK.
- Description: Food Ink. is one of the first restaurants in the world to fully use 3D printing in the creation of its dishes and even furniture. Guests of the restaurant can enjoy not only unique 3D-printed dishes, but also see how the process of their creation takes place.
- Innovation: The restaurant uses 3D printing to create exquisite and complex shapes that would be nearly impossible or very labor-intensive in traditional food preparation.
Chef Gianluca D’Agostino
- Location: Italy.
- Description: Gianluca D’Agostino, a pioneer in the use of 3D printing in the culinary arts, is known for his innovative techniques for creating complex dishes and cake decorations. He uses 3D printers to create unusual and complex shapes from edible materials such as chocolate and sugar paste.
- Innovation: What makes Gianluca’s work unique is his ability to combine traditional cooking methods with 3D printing to create unique culinary masterpieces.
ByFlow Company
- Location: Netherlands.
- Description: “byFlow” is a company specializing in the development of 3D food printers, working with restaurants and chefs around the world. They conduct workshops and demonstrations showing how 3D printing can be integrated into professional cooking.
- Innovation: “byFlow” shows how 3D printing can be used not only to create unique shapes, but also to customize dishes according to customer wishes, for example by printing texts and logos onto chocolate.
Edible Growth Project by Chloe Rutzerveld
- Location: Netherlands.
- Description: Chloe Rutzerveld, a food futurist and designer, created the concept “Edible Growth”, using 3D printing to create edible products that can grow and develop after printing.
- Basic concept: “Edible Growth” is the concept of 3D printed food that grows and evolves over time. Products created using this technology contain a variety of edible components, including seeds, fungal spores and sprouts. Once printed, these “living” dishes continue to grow and mature, offering a unique way to interact with food.
In Custody
So we’ve taken an incredible journey through the world of 3D food printing, and what have we learned? That our kitchens could soon turn into veritable laboratories of culinary art, where chefs in white coats (or perhaps safety glasses and gloves) will create culinary masterpieces worthy of the most exquisite galleries.
Picture this: you walk into your kitchen, press a few buttons, and voila, your dinner is printed, like magic, layer by layer. And if something goes wrong, you can always say: “The printer jammed my pizza.” Or maybe in the future we’ll say, “Honey, it’s your turn to fill the printer with chocolate and avocado!”
But jokes aside, 3D food printing opens the door to an exciting new world of culinary possibilities. From personalized cookies to sustainable, nutritious meals growing right on your plate, the possibilities seem endless. And although we are still at the early stages of this journey, it is already clear that the future of cooking will be filled with innovation and creativity, supported by a pinch of technology.
So the next time you hear the sound of the printer, don’t rush to grab your printed documents. It might just be your dinner getting ready to be served. And remember, if you don’t like the shape of your steak, you can always readjust the settings and print it again. At the end of the day, in the world of 3D food printing, the only limit is your imagination (and, well, the size of the printing bed).
Bon appetit!